Furniture planning guide
Study Desks in Suites and Apartments: Sign Off Glare, Depth and Storage on the First Piece
A window desk repeats well only after it has been tested in that window's light.
On a typical suite programme the window desk is drawn on the plan, approved from a front elevation and released for every room of the type. Then the show suite is dressed, and by mid-afternoon the screen at that desk cannot be read: low sun from the window's orientation falls straight across the work surface, and nobody had checked the desk in that orientation before quantities were released. This guide treats the study or work corner as a repeatable kit — window glare, desk depth, chair and knee space, storage and cable routes — signed off together on a first piece and then locked per room type.
Client-project furniture and the making process, filmed in our Foshan showroom and workshop.
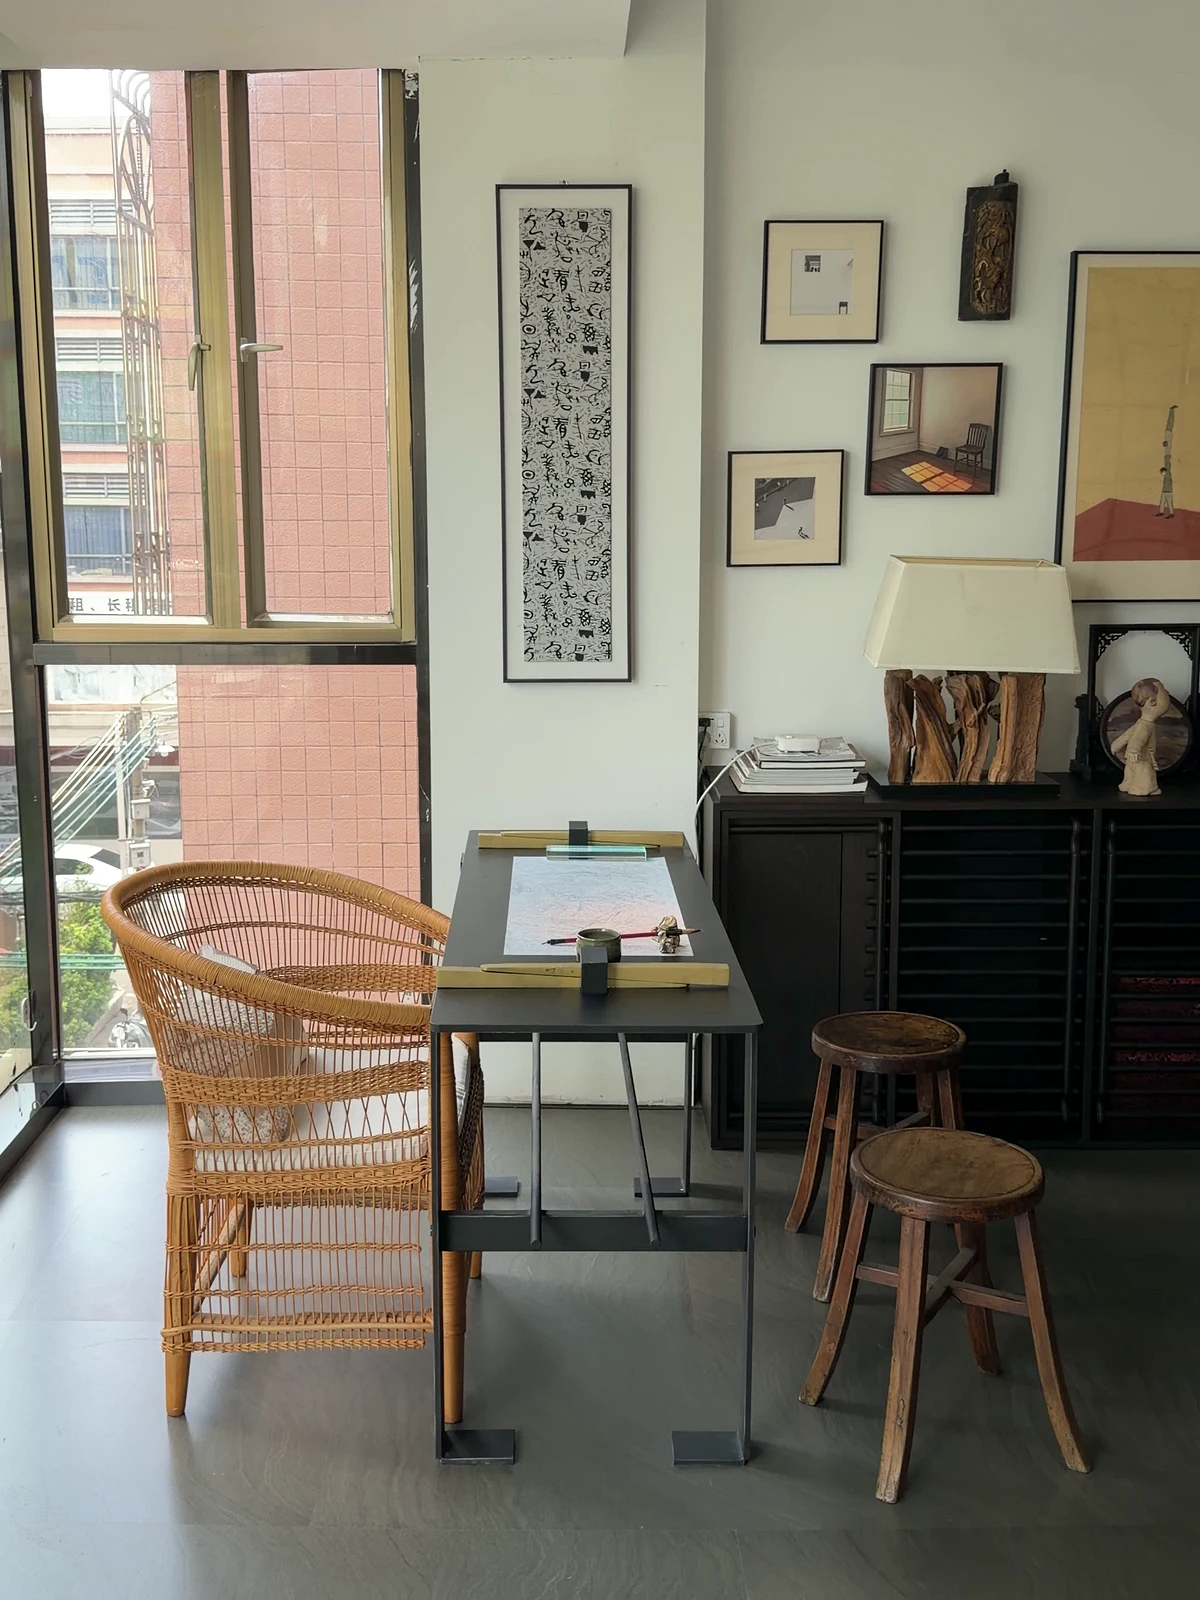
Desk, chair, storage and daylight references from the same visit.
01
Define the work the corner must support.
List what each room type is planned for: a laptop and a notebook, a call on camera, papers spread for a short session, or simply a place to write a card. Record the dimensions of the equipment the operator expects guests or residents to bring, then test the surface with the specified chair rather than judging the pair from the front. A desk photograph does not establish usable depth, knee space or compatibility with a particular chair; those figures come from the product drawing and are checked on the first piece.
02
Check the window orientation before the desk position is fixed.
Glare depends on where the sun reaches the window at the hours the desk is used, so the same desk position can work in one room type and fail in another. Sit at the proposed position in the show suite, or in a mock-up with the same orientation, in the morning and the afternoon. Note reflections on a screen, the direction the sitter faces and what the curtains or blinds change. Where room types share a plan but face different directions, record the desk position as a variant per orientation instead of assuming one answer for the building.

03
Give closed storage a defined content list.
Use a sideboard or cabinet for what should be close at hand but out of sight: stationery, a printer if the operator provides one, spare cables, a safe if the room schedule calls for it. Compare those items with the actual interior, not only the front outline. Check that each door or drawer opens fully while the chair is pulled back, and if pictures hang above the piece, include them on the same elevation so the wall is approved as one composition.
04
Keep open shelving to what is meant to be seen.
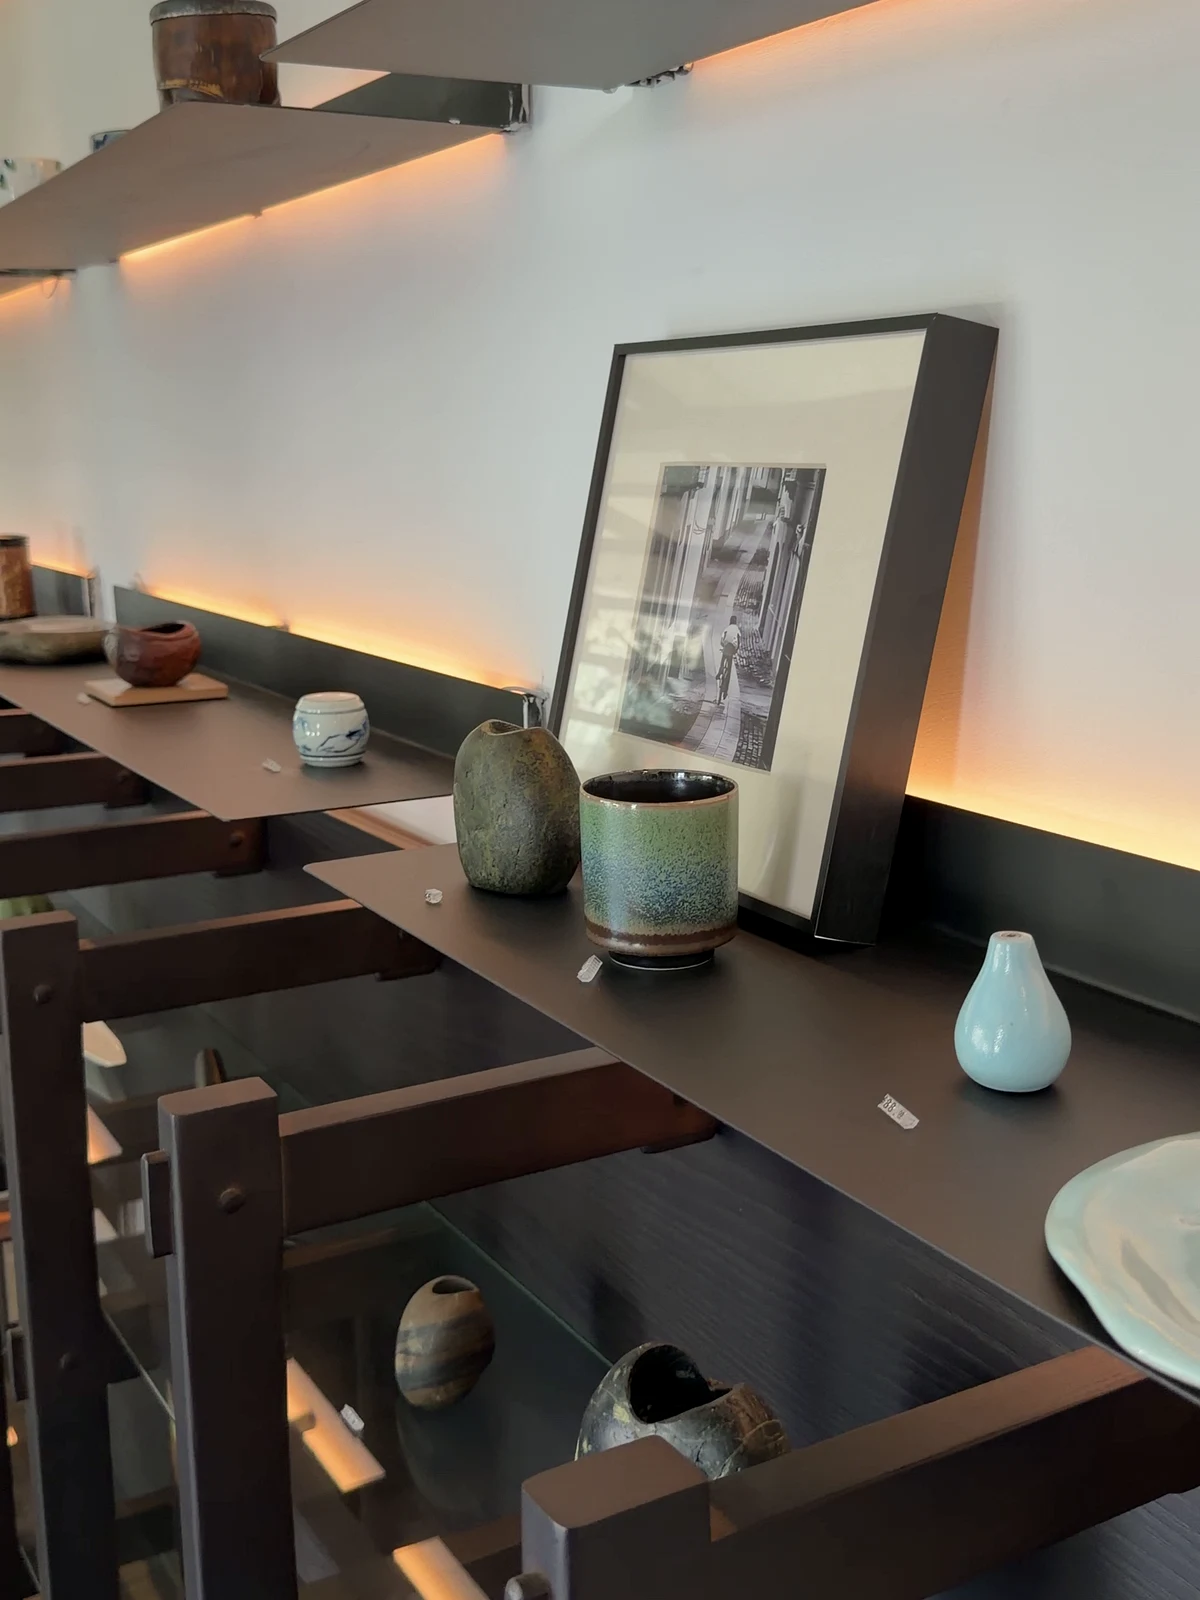
Decide which objects the design team wants visible and which belong behind a door. An open shelf can carry a small display without becoming the corner's only storage. On the joinery drawing, record clear shelf dimensions, the proposed contents and the reach needed to use them, then confirm construction and support for that load with the maker before the shelf is repeated across rooms.
05
Route cables and power with the desk, not after it.
A desk corner that looks finished on the elevation can still leave chargers trailing across the floor. Mark on the furniture drawing where cables pass through or behind the desk, where a grommet or cable tray sits, and how a lamp and a laptop reach power without the chair rolling over a lead. Socket positions themselves belong to the electrical drawings and are reviewed by the responsible project team; the furniture drawing only has to meet them, and the first piece is where the two are proven to line up.
06
Lock the kit per room type after first-piece sign-off.
Close with a kit record for each room type: desk and chair identifiers, the approved position relative to the window, the storage interior list, the cable route and any orientation variants. Repeats and replacements are checked against that record, so the desk in the last suite handed over is built from the same decisions as the one tested in the show suite.
Your planning checklist.
Bring these details into the conversation.
- Task and equipment list set for each room type
- Desk depth and knee space checked with the specified chair
- Glare checked in the window orientation of each room type
- Storage interiors and cable route shown on the furniture drawing
- First piece signed off and the kit locked per room type
FOSHANPICK
A clearer brief. A better starting point.
FoshanPick is a furniture manufacturer with our own factory in Foshan. We design and make sofas, beds, dining tables and cabinetry for hotel, apartment and villa furniture projects, with quality control and export services. Share your plans, quantities and destination so we can confirm the furniture scope for your project.
Share your project briefBefore you choose.
Must the desk face the window?
Not necessarily. Facing the window, sitting side-on to it or keeping it behind the sitter each produce different reflections on a screen, and the right answer changes with orientation. Decide on the show suite or a mock-up in the real orientation, and record the decision per room type.
Sources and further reading
These references support the planning questions in this guide. They do not identify the materials, mechanisms or specifications of the furniture filmed here.
Start with your project list
Send your room list, drawings or reference photos to discuss custom furniture options and a quotation.